This is my favorite Thanksgiving craft! I have made it with classrooms full of children and at my own home with just my three little peanuts! This particular photo was a project I made with my Sunday School Kiddos! The basic idea is to have each child write what they are thankful for on a turkey feather and then allow them to decorate it! You then put them together to make a turkey! If you are doing this at home you can have them make more than one feather with more than one thing they are thankful for, you can also make it on a much smaller scale! Post your pictures in the comments section so we can see how blessed we all are!
Halloween Food & Art… Mummy Quesadillas and Potato Pumpkin Art…
28 OctI’m not going to lie… Carving a potato is not as easy as it sounds… Today my Kids in the Kitchen kiddos made a couple fun things… Painting with potatoes was one of our fun Halloween activities we did today. Basically, I used a pairing knife prior to class to carve out some jack-o-lantern faces in 3 potatoes, 6 halves. I tried to make each face different, but that was a bit more complicated then I thought :).
I put out some orange paint and my small friends stamped away and made some pretty cute pumpkins. They key behind this craft is that you don’t need a lot of paint on your potato or it will just look like a circle, you won’t be able to see the carved face… So go lightly on the paint… I just put a small bit on a paper plate for them to dip their potato into. That’s it, easy as potato pie :).
We also made mummy quesadillas which were so easy, quick and tasty. I got the idea from “The Kids Activities Blog” and I really think they are adorable! They’d be perfect for Halloween night just before trick or treating… You cold also make Jack-o-lantern quesadillas using kitchen scissors to cut out the face on the top quesadilla… I used my kitchen scissors to cut some of the tortillas into strips so they could make their dinner into a mummy. You can use white cheese and olives for the eyes or candy eyes if that’s up your ally. You can also just cut the darker part of the tortilla into eye shapes and put those on, as well… What ever you think!
Of course no Halloween preschool cooking class would be complete without some spooky books… Here are a couple of my favorites…
Happy Halloween Friends! XOXO
Shark Sandwiches
27 OctTeaching 3 year olds to cook is a hoot… I love every second of it. I especially love giving them complete control over their food… I let them cut, spread, and design their dishes and this week’s lesson is proof of that… There is part of me that thinks these could be the stars of that pinterest fail site, but then I remember that the artists are 3 and I beam with pride!!! The Demonstration:
Kids in the Kitchen – THE BEST Blueberry Muffins EVER
3 OctThis is my all time favorite muffin recipe.. It always turns out, is quick and easy, and you can switch it up and add what ever you like to it! Of course I always like to read a few books before baking so here are my top picks for blueberry muffins!
THE BEST Blueberry Muffins EVER
Ingredients:
- 3 cups all-purpose flour
- 4 teaspoons baking powder
- 1/2 teaspoon salt
- 2 eggs, room temperature preferred
- 1 cup granulated sugar
- 1 cup buttermilk
- 1/2 cup melted coconut oil
- 1 teaspoon vanilla extract
- 1 and 1/2 cups fresh or frozen blueberries
- coarse sugar for sprinkling (optional)
Directions:
- Preheat oven to 425F degrees. Spray your muffin tin of choice with non-stick spray or line with muffin liners. Set aside.
- In a large bowl, gently toss together flour, baking powder, and salt. Mix until all dry ingredients are combined – a 20 second toss to disperse everything together. Set aside.
- In a medium bowl, whisk together eggs and sugar until combined. Mix in milk, oil, and vanilla. Mixture will be pale and yellow. Fold wet ingredients into dry ingredients and mix everything together by hand. Avoid overmixing. Gently mix until all the flour is off the bottom of the bowl and no big pockets of flour remain. The batter will be VERY thick and somewhat lumpy. Fold in the blueberries.
- Pour batter into prepared muffin tins, filling all the way to the top. Top with a sprinkle course sugar. Bake at 425F degrees for 5 minutes. Reduce oven temperature to 375 and continue to bake for 25-26 minutes until tops are lightly golden and centers appear set. Allow to cool for 10 minutes in pan before enjoying.
Kids in the Kitchen…English Muffin * Bagel * Tortilla Pizzas
30 SepAH, an oldie but a goodie… What I love about English Muffin Pizza’s is that 3 year olds truly can make these by themselves. I mean, an adult has to pop them in the oven, but the prep work can be done by children and adults of all ages :). This is such a fun and easy lunch or dinner that I often forget about. I also think it would be a really great Birthday Party meal! You can make pizza on an english muffin, bagel, or tortilla, depending on what you have on hand… Just cut up your favorite toppings, add some sauce and cheese, bake in the oven and TADA!!!
Here are some great books to go along with your pizza making!
Zucchini Zucchini… Zucchini Bread and More!
11 SepIt’s Zucchini season! I’m sad to report that we moved to a new house this summer so I wasn’t able to plant any of my favorite vegetables, zucchini being one of them :(. BUT, I can always find it at the local market, which I happened to do this week! Yesterday my 3 year old and I had a zucchini adventure! We read this funny book called, Wilber The Zucchini Eating Dragon, which was a hoot. It’s all about a Dragon who only eats zucchini (he’s a picky eater) and what happens when there isn’t any zucchini at the market… It’s a great book for anyone, but especially fun if you have a picky eater in your house! You can find the book for your kindle or in print form on Amazon!
Of course after reading this silly book we had to make some Zucchini bread! Here is the recipe we used, which was a huge hit with our family!
ZUCCHINI BREAD
- 1 large egg, beaten
- 1/2 cup (100g) light or dark brown sugar
- 1/2 cup (100g) granulated sugar
- 1/2 cup (120ml) vegetable oil
- 1 cup grated zucchini (about 1 large)
- 2 teaspoons vanilla extract
- 1 and 1/2 cups flour
- 1/2 teaspoon baking powder
- 1/2 teaspoon baking soda
- 1/2 teaspoon salt
- 2 teaspoons ground cinnamon
- 1/4 teaspoon ground nutmeg
- 3/4 cup chocolate chips or nuts (optional)
Directions:
Preheat oven to 350F degrees. Spray a 9×5 (or 8×4) loaf pan with nonstick spray.
In a medium bowl, whisk together the beaten egg, brown sugar, granulated sugar, oil, zucchini, and vanilla until evenly combined. In a large bowl, toss the flour, baking powder, baking soda, salt, cinnamon, nutmeg, and chocolate chips together. Pour the wet ingredients into the dry ingredients and mix with a large wooden spoon or rubber spatula until combined.
Spread batter into the prepared loaf pan. Bake the bread in the 350′ oven and bake for 40-45 minutes or until a toothpick inserted in the center comes out clean. I covered the bread loosely with aluminum foil after 35 total minutes to avoid the top from getting too brown. Allow bread to cool in the pan set on a wire rack for at least 1 hour before removing from the pan and serving.
YUMMY
Kids in the Kitchen- Book & Recipe Lesson: Apple Cookies
9 Sep
Today for our Kids in the Kitchen lesson we made these yummy apple cookies! I love this lesson because you really can alter the recipe to fit what ever your dietary needs, likes and dislikes are! Working with 3 & 4 year olds is such a hoot… They loved every minute of cutting, spreading and topping their “apple cookies”. I offered them either peanut butter or sun butter… You could also use honey. Basically you need something sticky :). For toppings we used chocolate chips and coconut. You could also use oatmeal, nuts, even sprinkles! We also practiced making ours into PB & J apples…
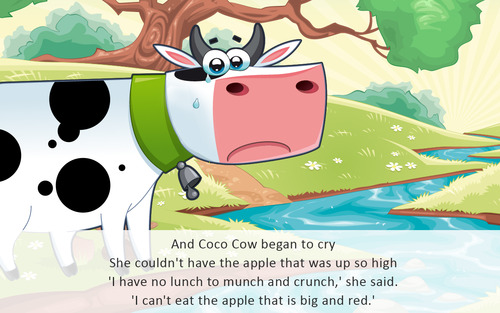
I began this lesson by reading a book called, Coco Cow and the Big Apple. I love this book- the story line is adorable and the pictures are some of my favorite.

Once we were well on our way to filling our tummies with delicious apple cookies, I told them the story of “The Hidden Star”. This is a popular story to do with younger children, but it never tires because they are always so excited when you show them the star… Here’s how it works:
Apple stars
Once there was a little boy who had played almost all day. He had played with all his toys and all the games he knew, and he could not think of anything else to do. So, he went to his mother and asked, “Mother, what shall I do now?”
His mother said, “I know about a little red house with no doors and no windows and a star inside. You can find it, if you go look for it.”
So the little boy went outside and there he met a little girl. He asked, “Do you know where there is a little red house with no doors and no windows and a star inside?”
The little girl said, “No, I don’t know where there is a little red house with no doors and no windows and a star inside, but you can ask my daddy. He is a farmer and he knows lots of things. He’s down by the barn and maybe he can help you.”
So, the little boy went to the farmer down by the barn and said, “Do you know where there is a little red house with no doors and no windows and a star inside?”
“No,” said the farmer, “I don’t know, but why don’t you ask Grandmother. She is in her house up on the hill. She is very wise and knows many things. Maybe she can help you.”
So, the little boy went up the hill to Grandmother’s and asked, “Do you know where there is a little red house with no doors and no windows and a star inside?”
“No,” Grandmother answered, “I don’t know, but you ask Brother Wind, for Brother Wind goes everywhere, and I am sure he can help you.”
So, the little boy went outside and asked Brother Wind, “Do you know where I can find a little red house with no doors and no windows and a star inside?”
And Brother Wind said, “Ooooohhhhh! And it sounded to the little boy as if the wind said, “Come with me.” So the little boy ran after Brother Wind. He ran through the grass and into the orchard and there on the ground he found the little house – the little red house with no doors and no windows and a star inside! He picked it up, and it filled both of his hands. He ran home to his mother and said, “Look, Mother! I found the little red house with no doors and no windows, but I cannot see the star!”
So this is what his mother did (cut the apple across the middle from side to side, not top to bottom) .“Now I see the star!” said the little boy.
Inside every apple sleep five seed babies in their star beds, just waiting and waiting for the wind to catch them so they too can become a little red house with no doors and no windows and a star inside!
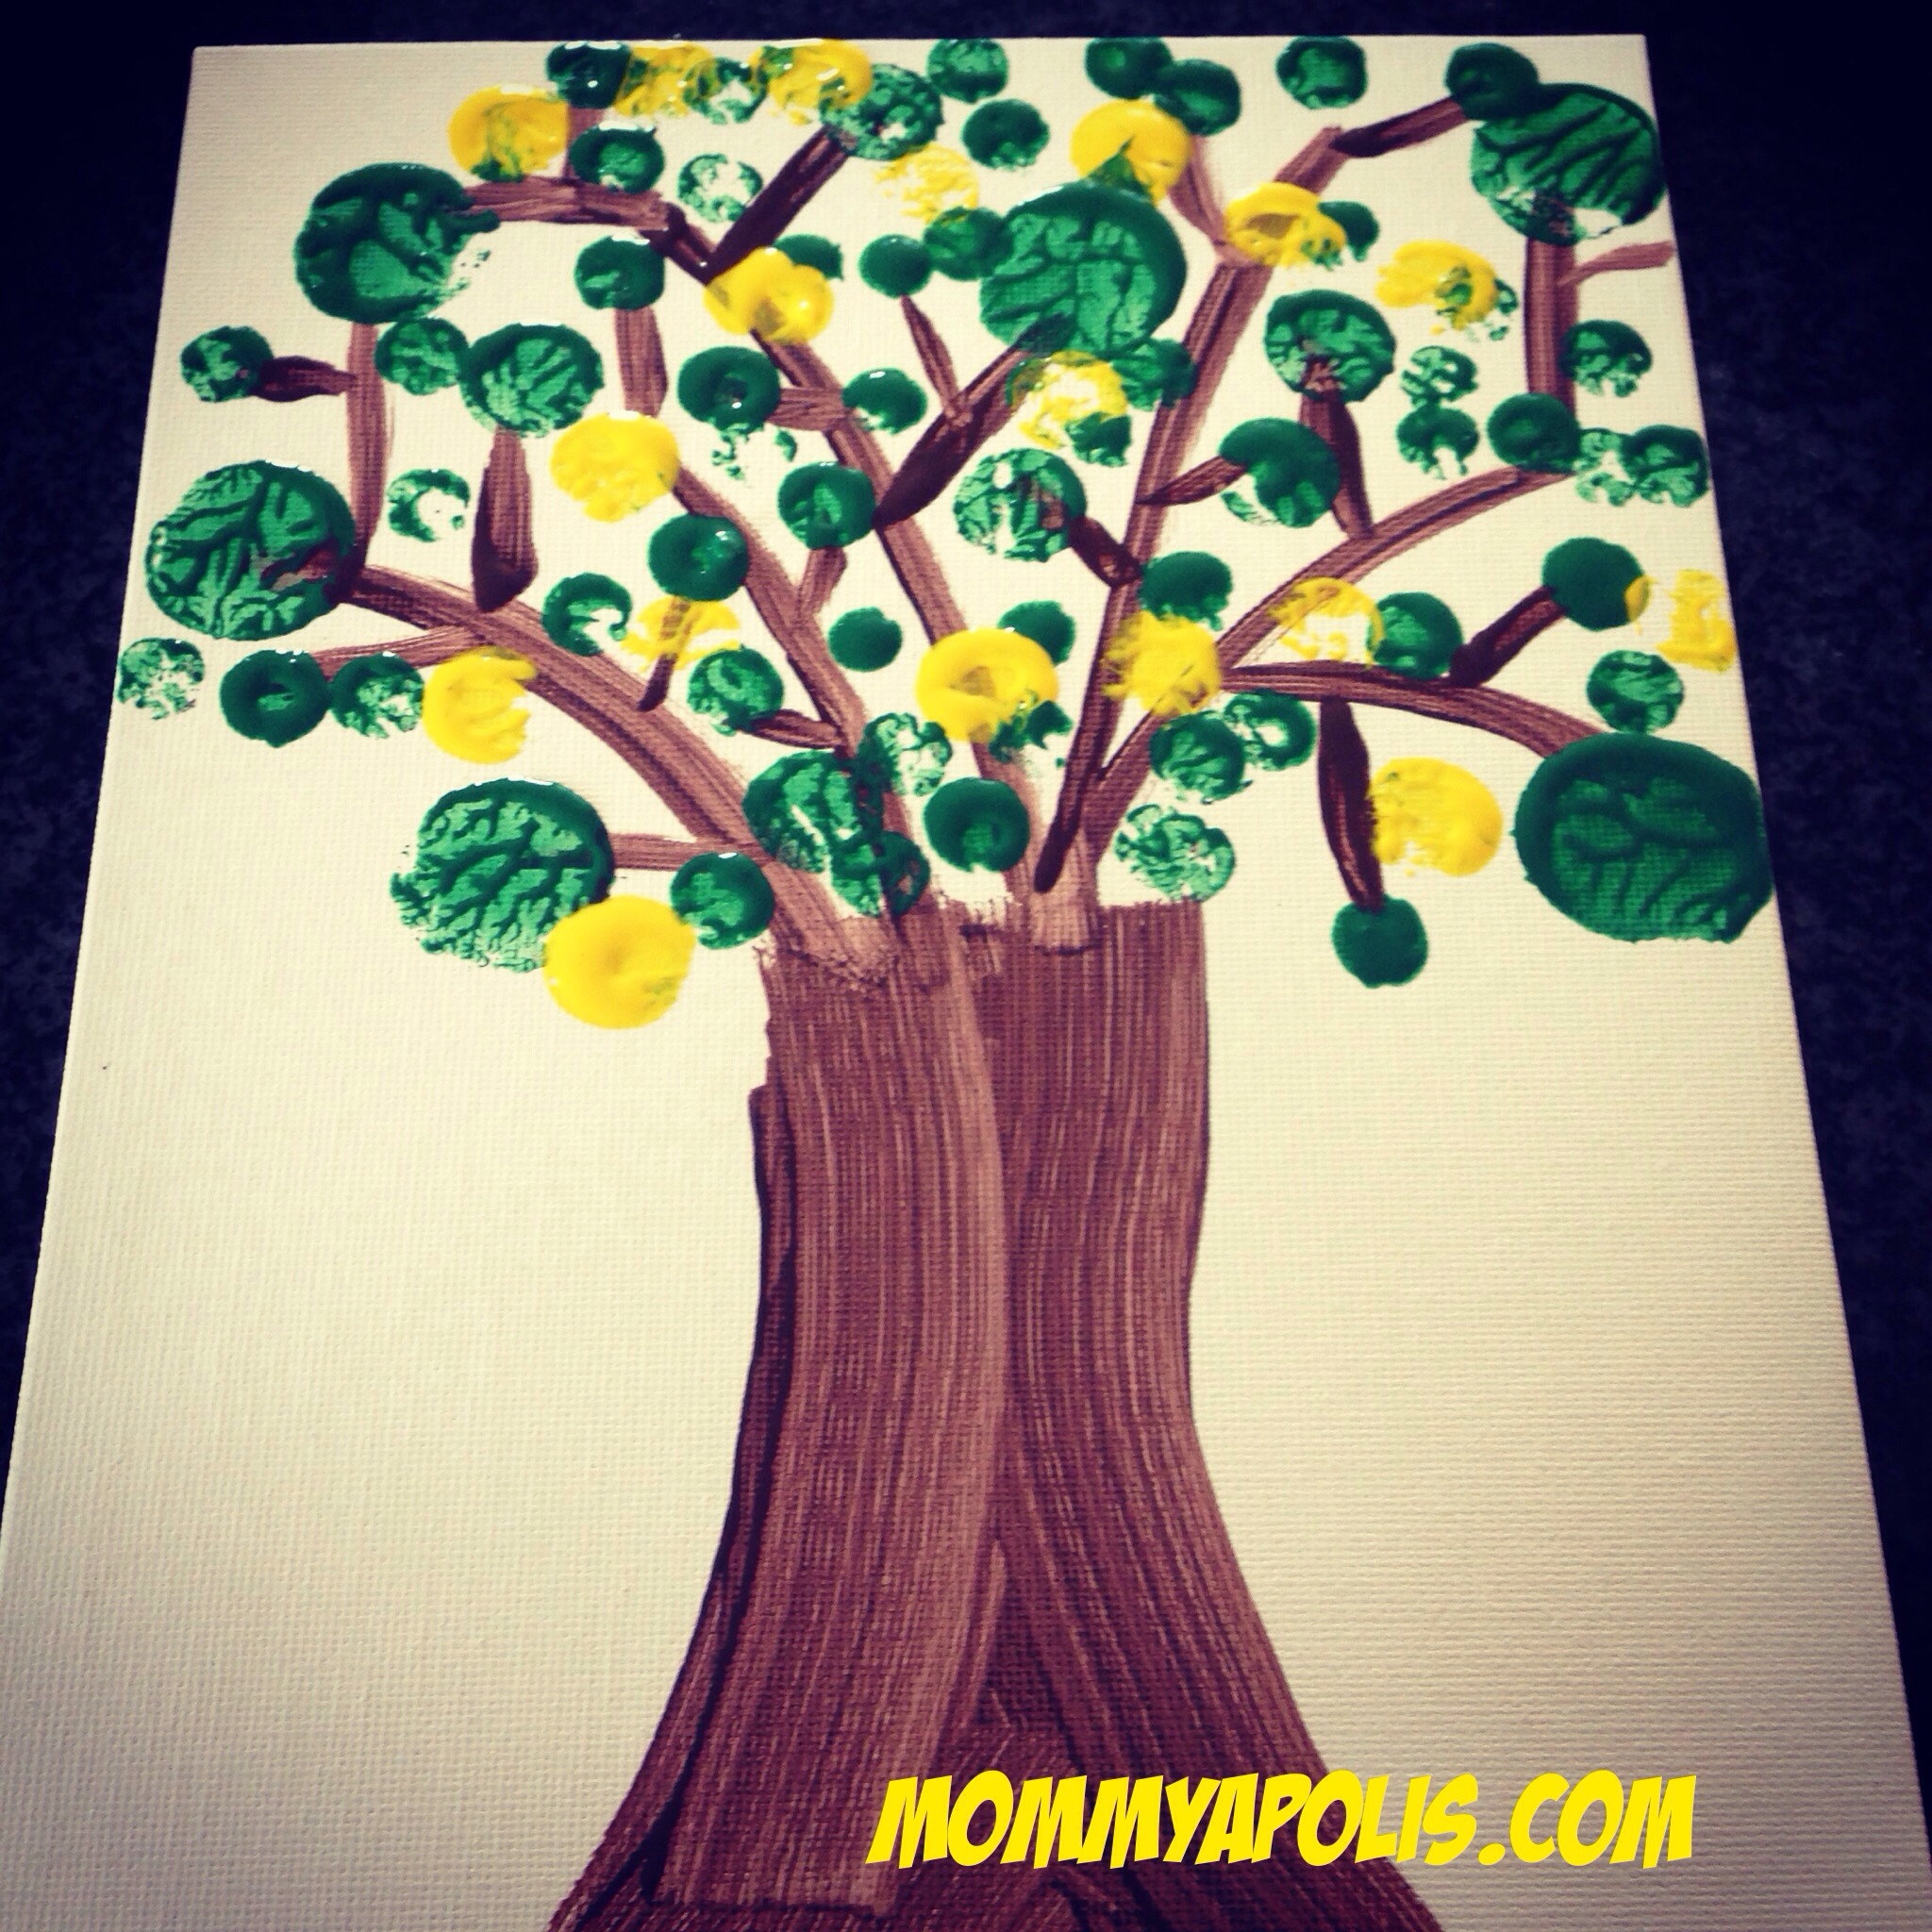
Kids in the Kitchen: Book & Recipe Lesson- Strawberry Jam
5 Sep
This week my youngest started montessori preschool! I have the fortunate opportunity of teaching a little enrichment class once a week to these sweet little bits called “Kids in the Kitchen”. Each week I will be reading the children a book and then making some sort of a treat to go with it! Let me just tell you that cooking with 3-5 year olds is the treat, they are so cute! Since this was our first week I thought I’d read one of my favorite books, The Little Mouse, The Red Ripe Strawberry, and The Big Hungry Bear By Don and Audrey Wood. I LOVE THIS BOOK… The words and illustrations leave so much to the imagination! I really just love it! After reading the book we used some of our kid friendly cooking tools made by Curious Chef to make Strawberry Freezer Jam!
The children cut, mashed, and stirred the strawberries until they were the perfect jam consistency! They were able to do all of this work themselves, which was the goal! Here is the link to the Word Document recipe I used and gave the children for Strawberry Freezer Jam:
INGREDIENTS
1 Quart Strawberries
4 Cups Sugar
1 Pouch Fruit Pectin
2 Tablespoons Fresh Lemon Juice
DIRECTIONS
- Stem and crush strawberries. Measure exactly 2 cups prepared fruit into large bowl. Stir in sugar and let stand 10 minutes.
- Mix pectin and lemon juice in small bowl. Add to strawberry mixture; stir until sugar is dissolved.
- Fill all containers immediately to within ½ inch of tops. Wipe off top edges of containers and cover with lids. Let stand at room temperature for 24 hours. Jam is now ready to use or can be refrigerated for one month or frozen for up to a year.
After we got home I had SEVERAL strawberries left. I decided to “can” some jam and used this recipe from The Pioneer Woman to do so:
Simple Strawberry Jam
5 cups hulled mashed strawberries
7 cups sugar
4 tablespoons fresh lemon juice
1 49g package powdered fruit pectin
1. Place 8 or 9 8-ounce mason jars in a large hot water bath canner (or pot). Cover with water and bring to a simmer.
2. Simmer center lids in separate saucepan full of water.
3. Place mashed strawberries and lemon juice in a separate pot. Stir in pectin until dissolved. Bring strawberries to a strong boil.
4. Add sugar (measure beforehand so you can add it all at once), then return mixture to a full (violent) boil that can’t be stirred down. Boil hard for 1 minute 15 seconds.
5. Skim foam off the top.
6. Remove one jar at a time from the simmering water. Pour water back into the pot. Using a wide-mouth funnel, fill each jar with jam, being careful to keep the liquid/fruit ratio consistent. Fill jars so that they have 1/4-inch of space at the top.
7. Run a knife down the side of the jar to get rid of air bubbles.
8. Wipe rim of jar with a wet cloth to remove any residue or stickiness.
9. Remove center lid from simmering water and position it on top.
10. Put screw bands on jars, but do not overtighten!
11. Repeat with all jars, then place jars on canning rack and lower into the water.
12. Place lid on canner, then bring water to a full boil. Boil hard for 10 to 12 minutes.
13. Turn off heat and allow jars to remain in hot water for an addition five minutes.
14. Remove jars from water using a jar lifter, and allow them to sit undisturbed for 24 hours.
15. After 24 hours, remove screw bands and check the seal of the jars. Center lids should have no give whatsoever. If any seals are compromised, store those jars in the fridge.
We chose to share our jam with our favorite Montessori and Elementary school teachers, as well as some of our dear friends! OH and we kept a few for ourselves too… It’s such a treat!
YUMMY!!!!!!!
Young Life Camp
30 Jul
As you probably know by now, my husband works for an organization called Young Life. Young Life is an outreach organization for middle and high school students. It’s a pretty awesome organization if you ask me- but I think most kids who are involved would say the same thing… During any given week around the WORLD you can find a Young Life activity taking place. As of June 2013, Young Life is in 5,937 schools and other outreach locations, as well as 52,839 leaders in the United States and around the world impacting 1,434,869 kids. WOWZERS!!!
One of my favorite parts of Young Life is their “camping” program… I say “camping” because Young Life’s camps are not rustic at all, their camps are more like 5 star resorts- and this is on purpose! Young Life has become known for their amazing resort quality amenities. Young Life camping involves high adventure, lots of fun, great food and excellent speakers who understand and respect high school and middle school kids. The camping ministry allows kids to get away from the pressures of everyday life, have fun with friends and their Young Life leaders, and hear the message of God’s love in terms they can understand. Young Life camping is open to kids who often are overlooked: those from economically depressed communities, kids with disabilities and teenage mothers. They have roughly 27 of these resort quality camps that serve more than 100,000 kids around the world. These kids get to spend a week or a weekend at Young Life camp, having an experience that many describe as the best of their lives.
Young Life even offers family camp for all of us that have younger families. They offer both week long and weekend opportunity for families. Another highlight of my boy’s summer!
OH and who could forget WINTER CAMP??? I told you, YL has it all!
As a member of the YL staff, Ben gets to take his middle and high school friends to camp each summer. While he is at camp, there are other staff people working the property so that Ben’s area can have the best week of their lives! In return, later in the summer, Ben gets to serve at a YL camp offering the same experiences to other Young Life campers and their leaders. This is called being on an “assignment”. When Ben has an assignment, we all get to go! It’s amazing!!! The other awesome part of an assignment is that there are high school and college age kids (that have previously been to a YL camp) who loved it so much they want to give back… They give up a month of their summer to come and serve others in some of the most humbling of ways (serving food, cleaning cabins, maintaining the property, etc..).
This summer we’ve had the opportunity to serve at a YL camp called Crooked Creek Ranch. I’m amazed by the “Assign Team” at this camp and their willingness to serve high schoolers at all costs! By the time our assignment is over, we will have shared our month with over 1500 high school friends. I call them friends because my boys have made a ton of friends while we’ve been at camp! I’d love to share some amazing photographs with you as we continue our assignment…
If you’d like more information about Young Life please visit www.younglife.org ! I wouldn’t be surprised if YL is alive and well in your community :).
Father’s Day Project
15 MayThis is such a fun project! I actually made it with my Sunday School Class and they had a lot of fun with it! We used small canvases, tempura paint, corks as paint brushes, and a little glue to put the poem on the back of the canvas! We also handed out a pine tree as a little gift! This really is a fun and thoughtful gift for a mom, dad, teacher or friend! Enjoy!!!


