

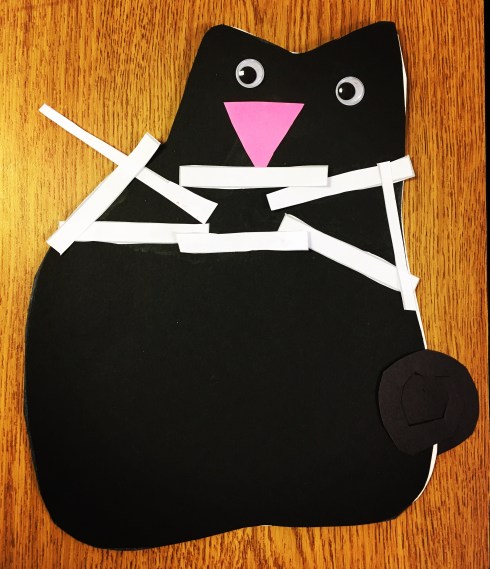
This week I had the opportunity to teach a lesson to my son’s Kindergarten class. His teacher requested a lesson on The -AT Word Family and since I happened to be teaching on Halloween I figured there was no better time to bring in a black cat :). The lesson was pretty easy to prepare. I pre-made a construction paper cat for each child. The front of the cat was black and the back was white. I let the children cut the stenciled cat out and also gave them white paper for the whiskers, pink paper for the nose, a black circle for the curly tail, and of course google eyes!!! I really love the way they each made their cat a little bit different… You can see a couple examples in these pictures! I really think these sweet black cats look a little bit like their creators :). The curly tails were a little tricky, but the kiddos did an amazing job. I taught them how to cut a circle into a spiral and then attach it to their cat! They are hard to see in the pics, but were absolutely adorable!
On the white side of the kitty we wrote down all of the -at family words we could think of. CAT, SAT, FAT, MAT, RAT, PAT, BAT, HAT, VAT, and even CHAT! Some children were able to do this quickly on their own, while others needed some guided instruction. It was an easily differentiated lesson in this way! You could definitely extend this lesson by having them read their words out loud to the class, individually to an adult, or even to a partner!
Have I mentioned that I LOVE KINDERGARTEN??? CUZ I DO :)!


