

My boys are completely ready for Halloween. They’ve been discussing costumes, party favors and decorations. In true S Brother’s style they’ve started making their own crafty decorations for Halloween. This project was inspired by the Mickey Mouse Clubhouse Episode, The Wizard of Dizz… Of course you can see why :). My big boys have seen the Wizard of Oz, but my 2 year old has not so we have to go with the Mickey Version when he’s around…
Here’s the Scoop:
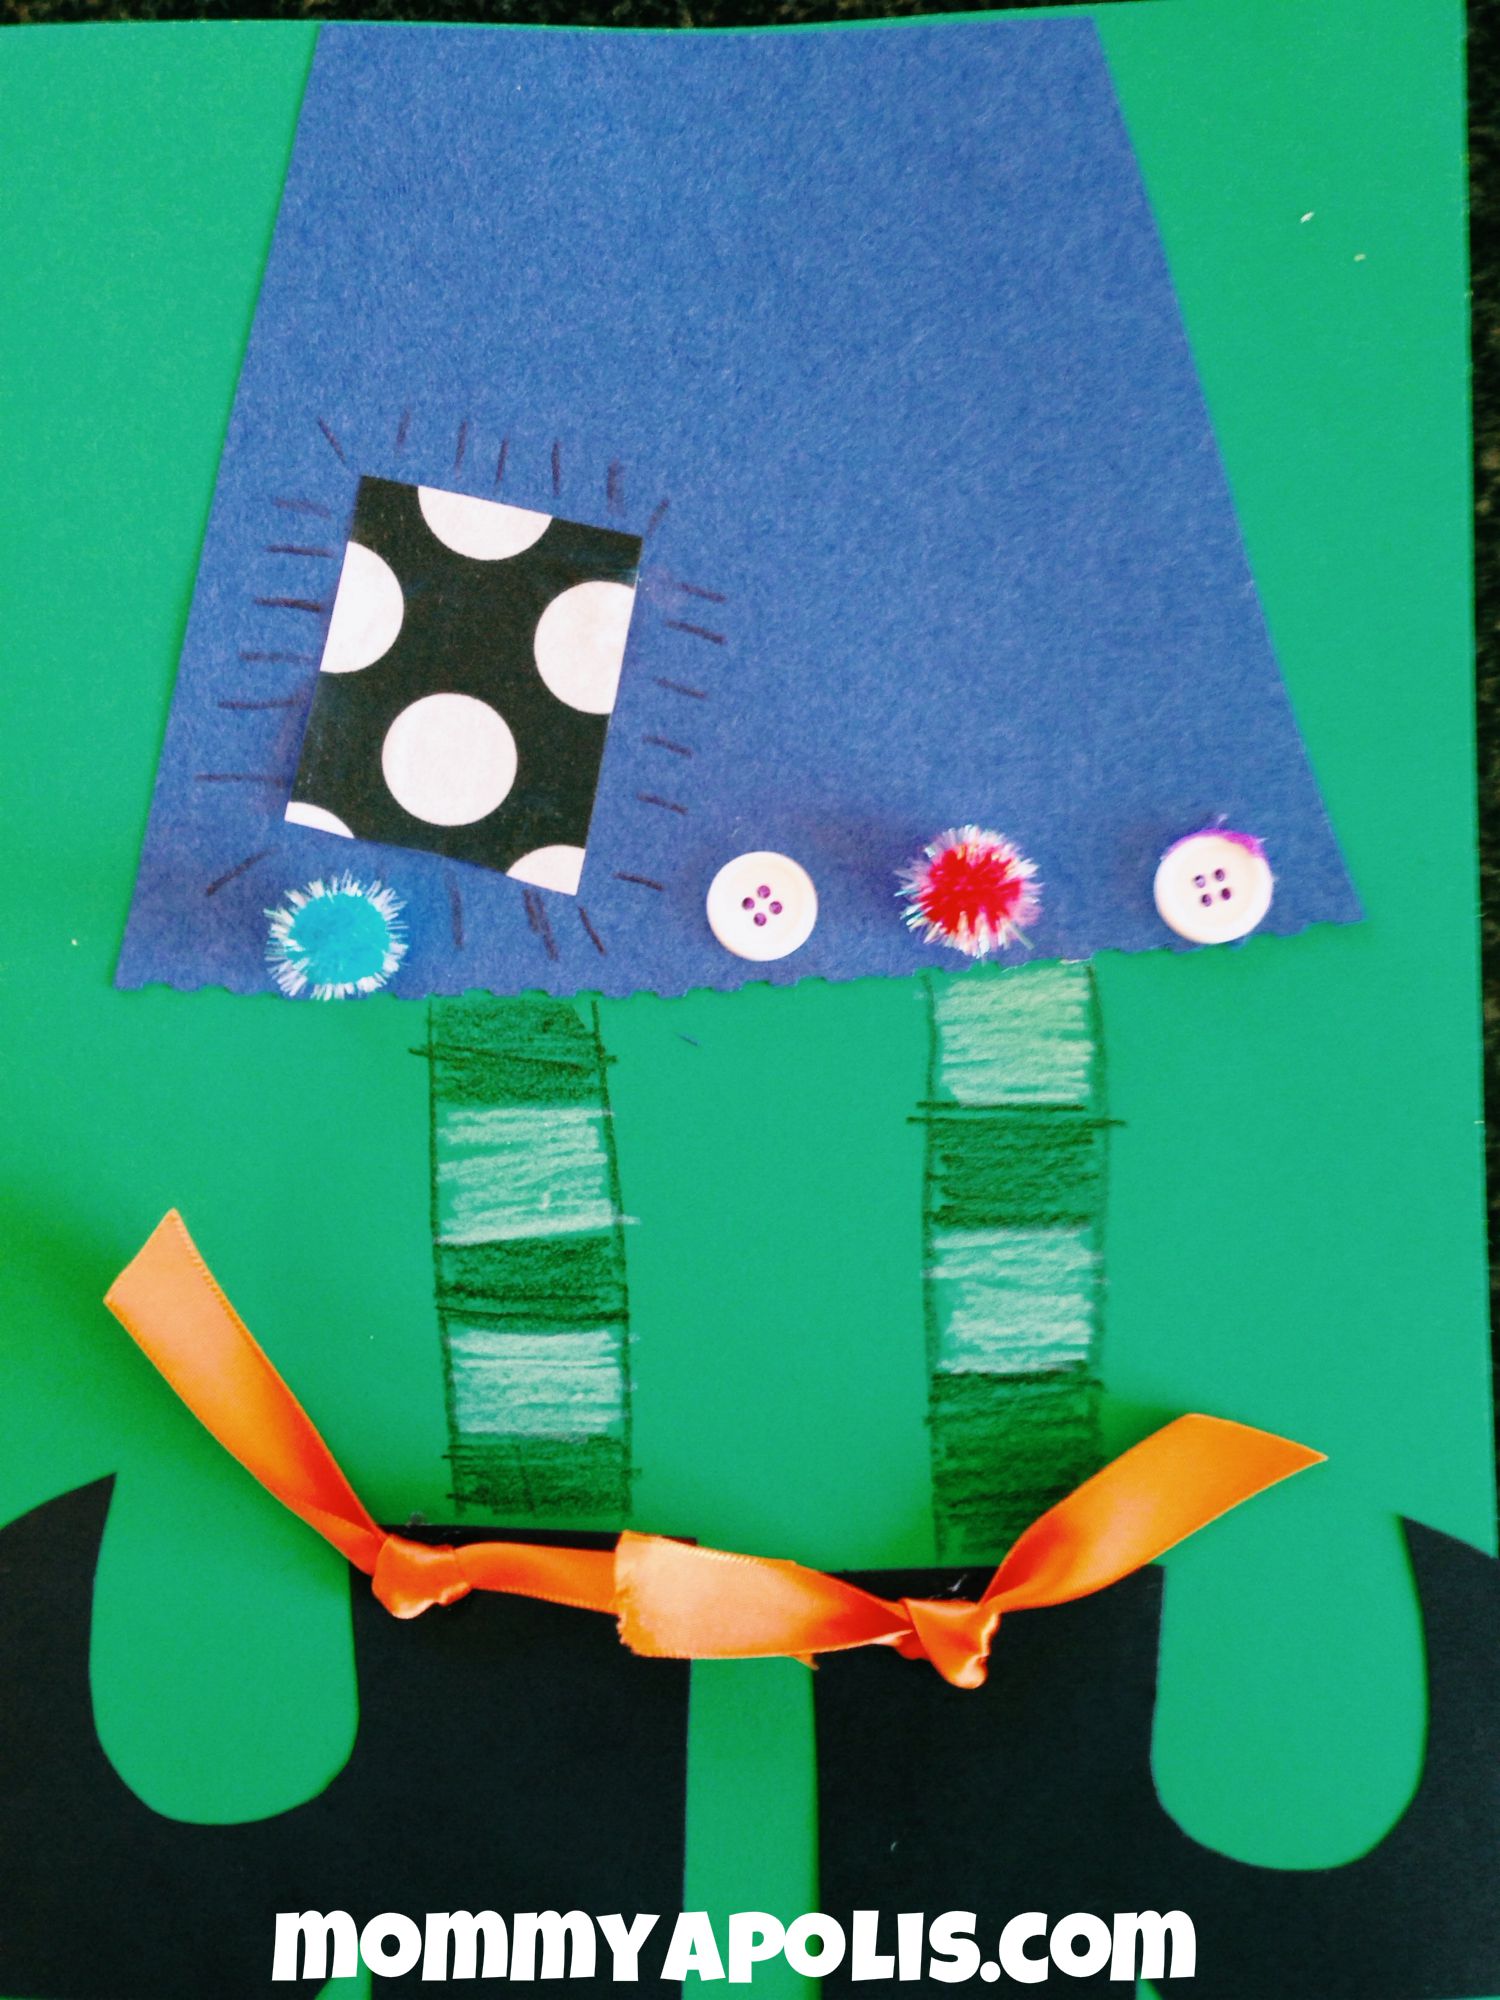
You’ll Need:
Construction Paper
Fabric Scraps
Buttons or Puff Balls
Scissors
Glue
Ribbon or Noodles for bows
Crayons
Directions:
Depending on the age of your children you’ll need to cut out the dress, fabric patch and shoes. My older boys were able to do this themselves. Glue these things on so the dress is at the top of the page. Let your younger children do the gluing if they are able. The rest is pretty simple, glue on the bows, buttons, patch etc.. Draw the legs of your witch and TADA… You have yourself the KIND or Wicked witch of the East… or what ever you want to name her… 🙂 What joy this time of the year brings to our little ones!


